I’d wanted to make some kind of rack-top cargo bin for awhile. I drew up a basic design and headed over to my local wood products mecca, Mr. Plywood. After browsing a while, I picked out a half sheet of beautiful 1/8″ birch plywood, some industrial strength waterproof glue, a set of hinges, and a few styles of interior wood corner molding to build up the joints.
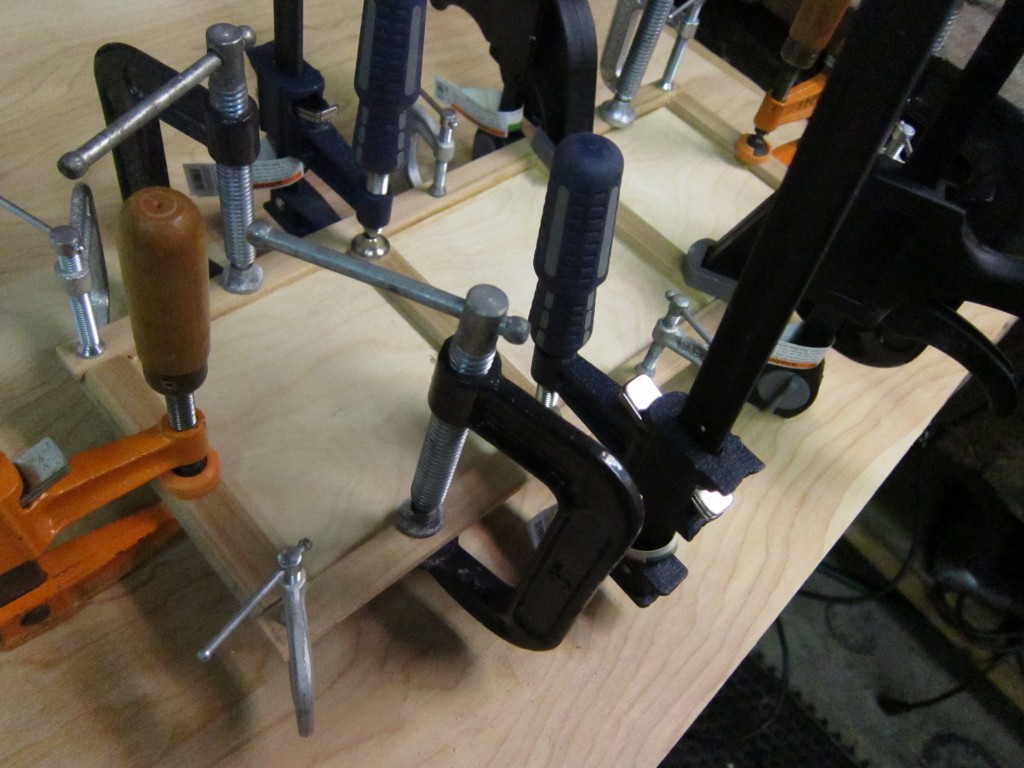
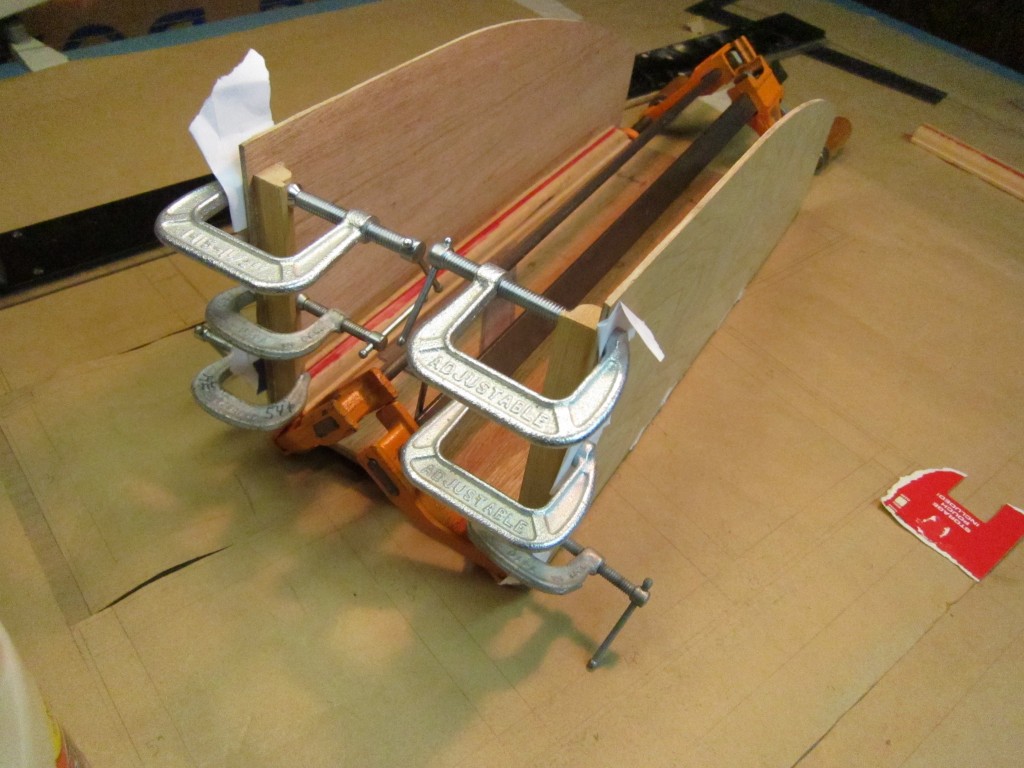
First a rectangular bottom is cut from the 1/8″ plywood and reinforced with window screen framing. The framing is interlocked for structural integrity. Once the last clamp was in place I realized I could have used 1 board and 6 clamps. (Woodworking lesson #1.)
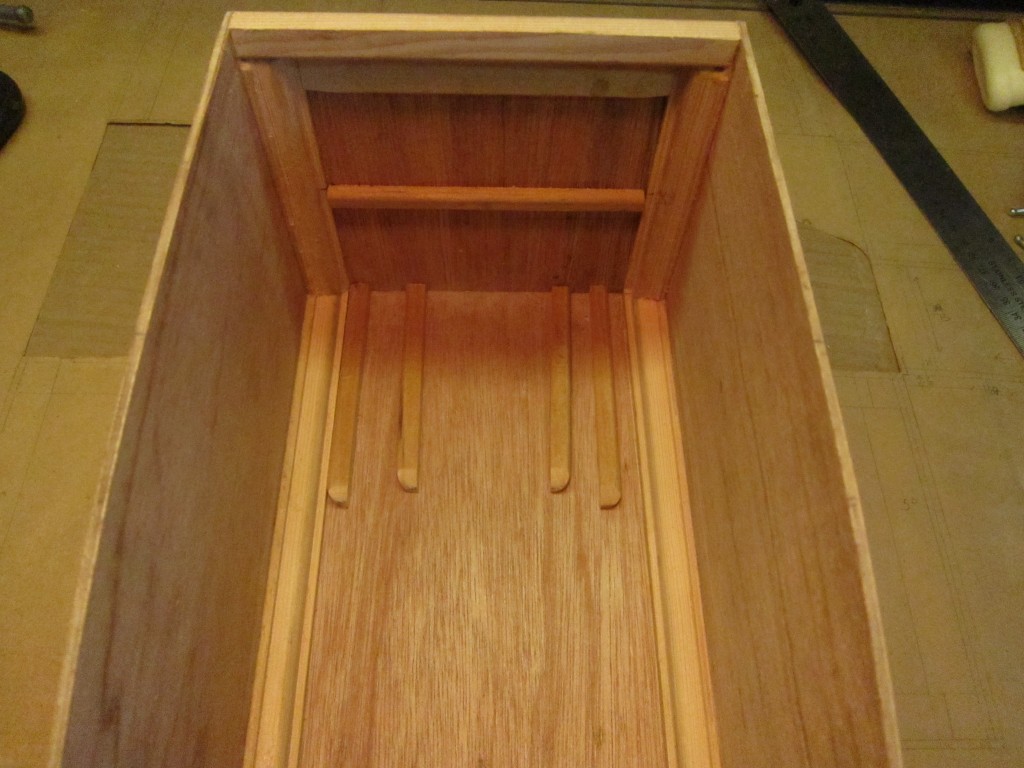
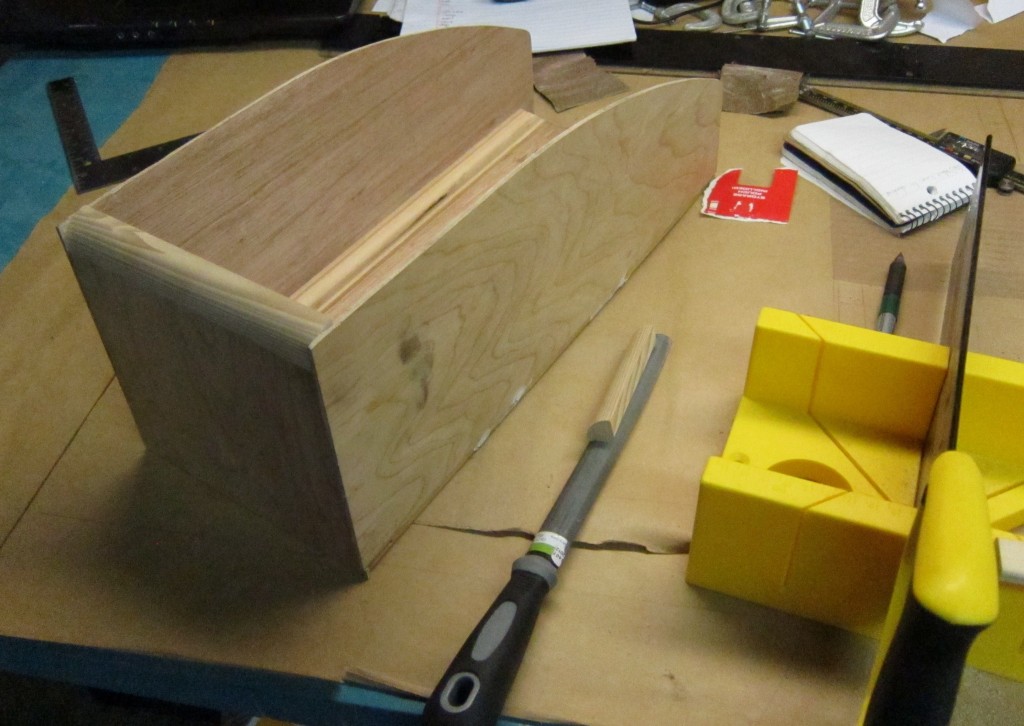
Since volume in the box is limited, an elevated tool shelf will keep tools close at hand while still allowing the full length of the box for long stuff like the pumps, u-locks, and bowling trophies. (Wooden bits on the floor are the tracks to be glued to the sides.)
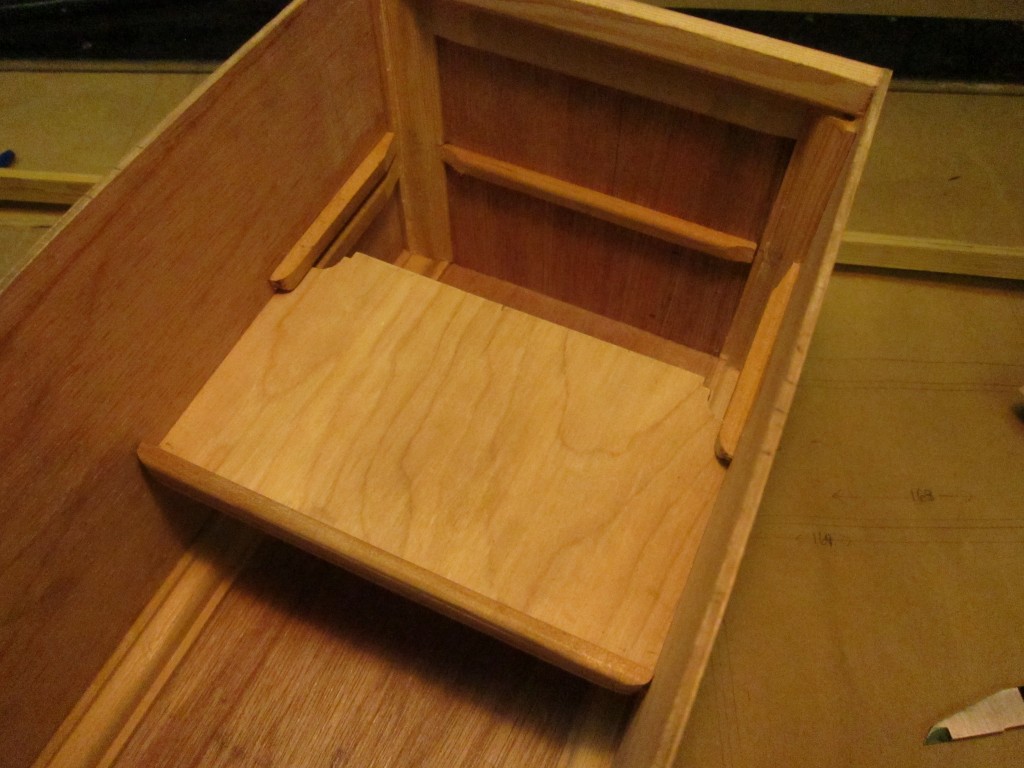
For big stuff (like a half gallon of milk or a six pack of beer) the shelf can be removed and laid on the floor.
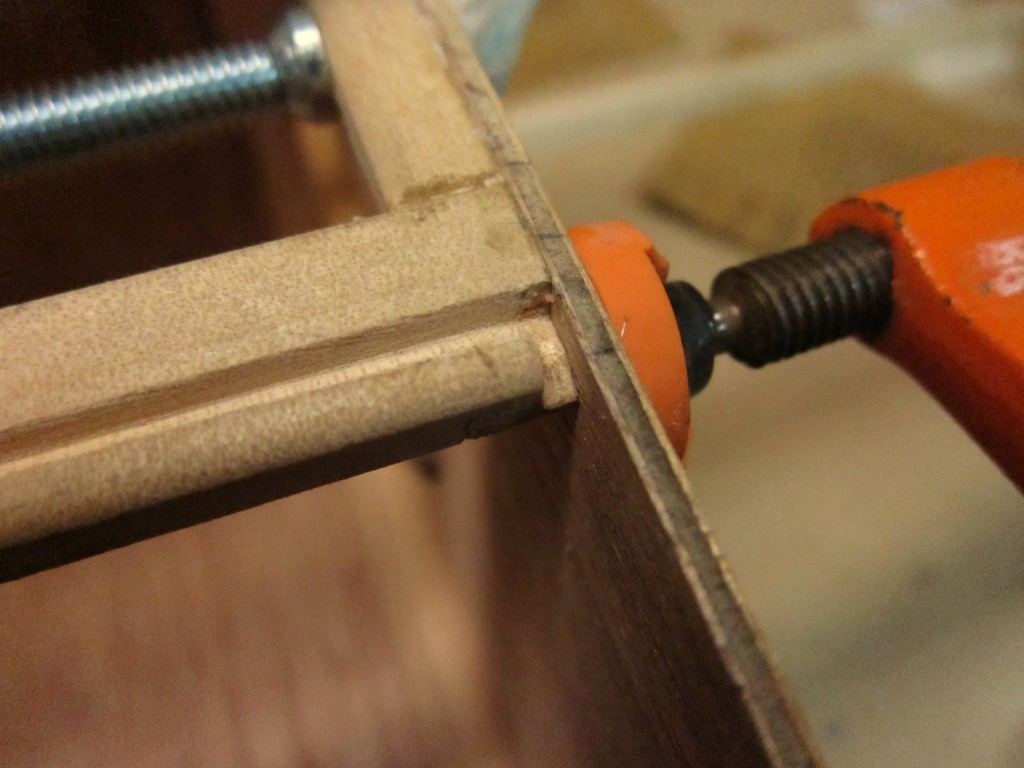
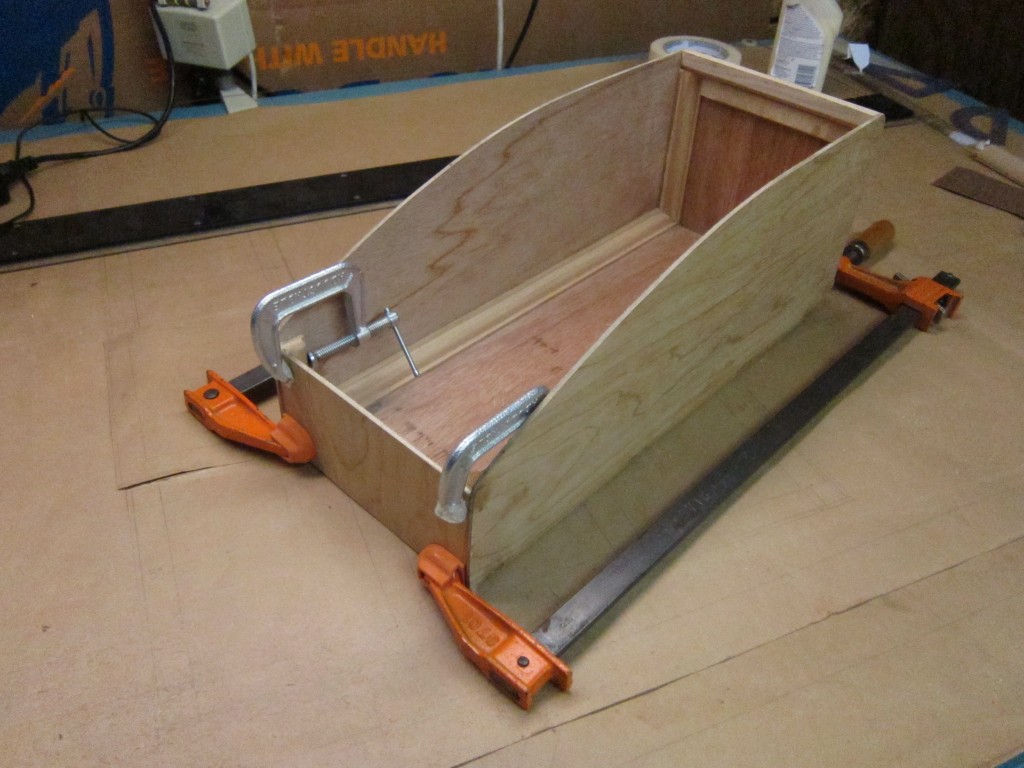
Rather than sealing the door with a rubber gasket, any errant rainwater will be channeled along a trough just inside the door frame to exit the box from tiny bleed holes in the back of the box.
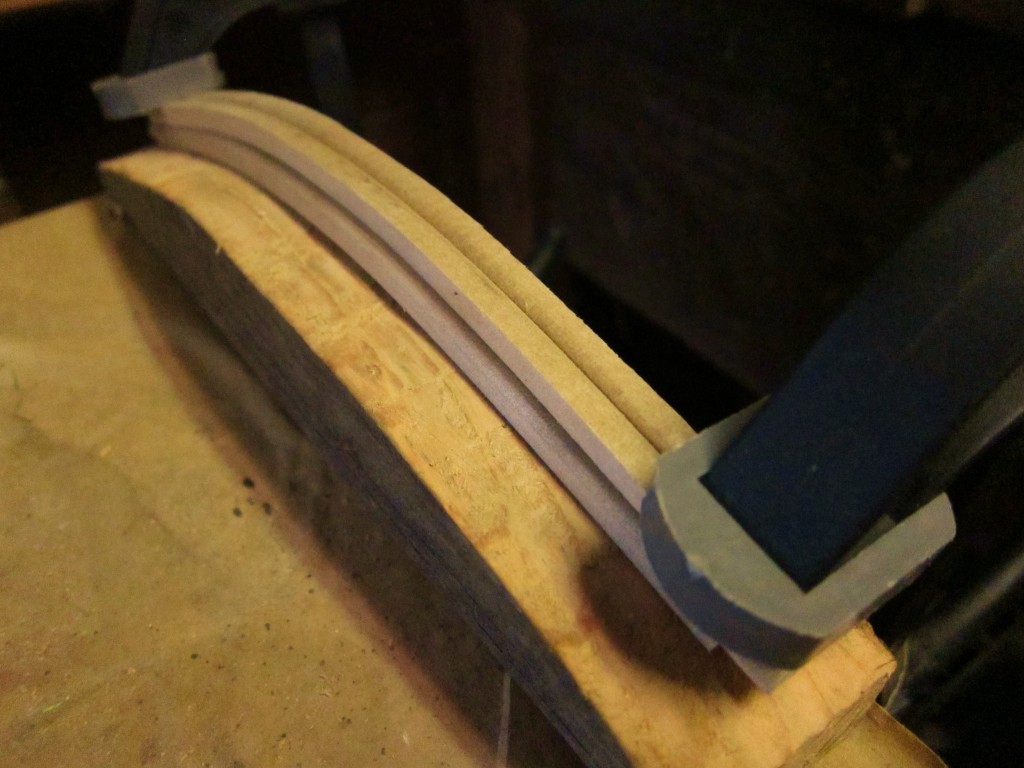
The sides of the door frame are warped to match the curve of the roof by clamping them to a form and covering with a wet towel for several hours.
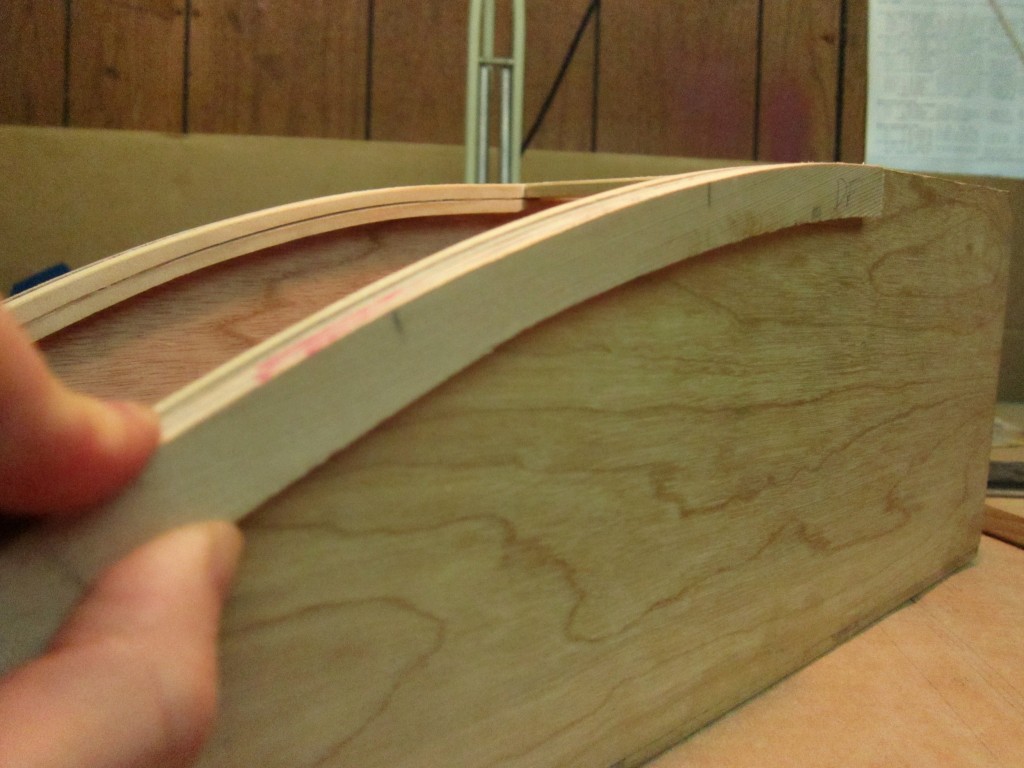
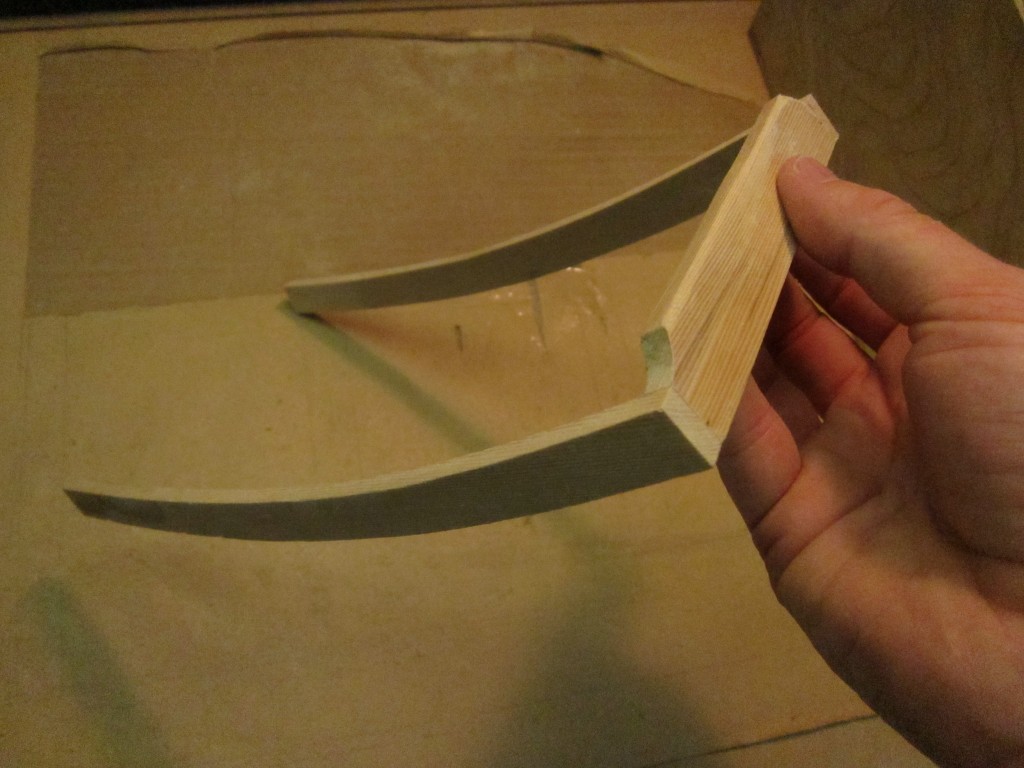
For rigidity, the lid is built with a 3/4 inch subframe, which has been cut to the curve from a piece of 1 1/2 inch wall trim. Here the curve radius is checked with the curve of the box sides.
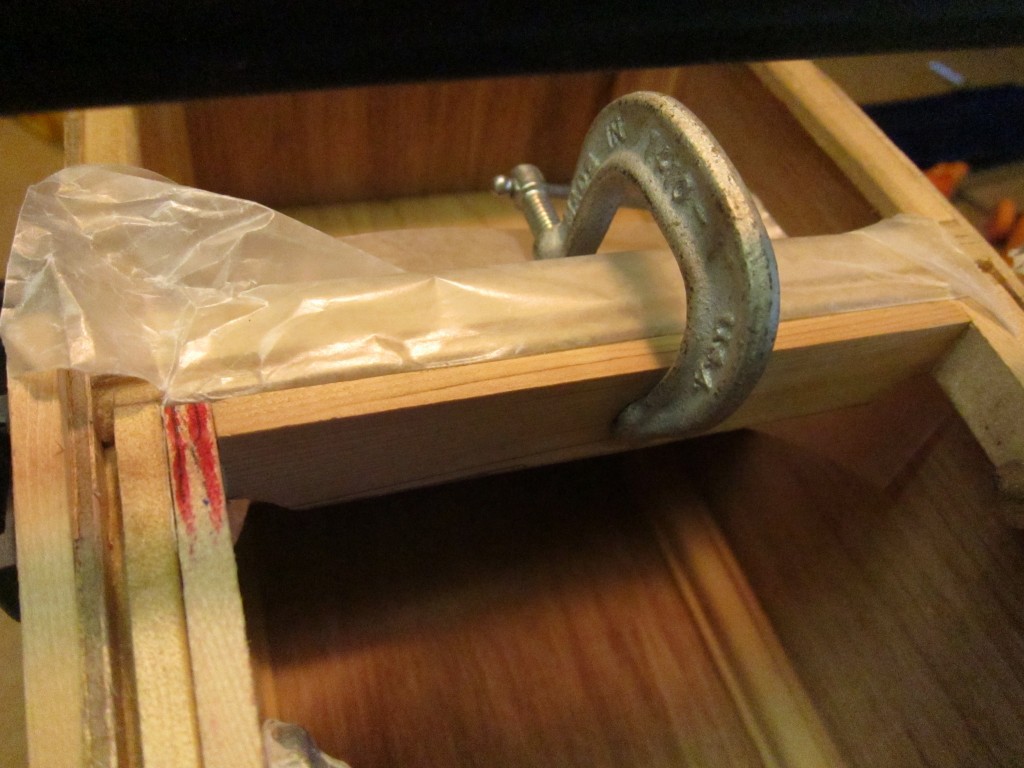
In order to assure a perfect flush fit, the lid’s substructure is glued together inside the door frame. Wax paper is used to prevent the glue from adhering to the door frame while it cures.
(Not shown) A rectangular piece of 1/8 ” plywood is cut and bent over the the wooden form in the same manner as the door frame. Then the sub-structure is glued and clamped to the curved lid.
Hinges are attached to the back side of the lid, and small bleed holes are drilled into the back of the box.
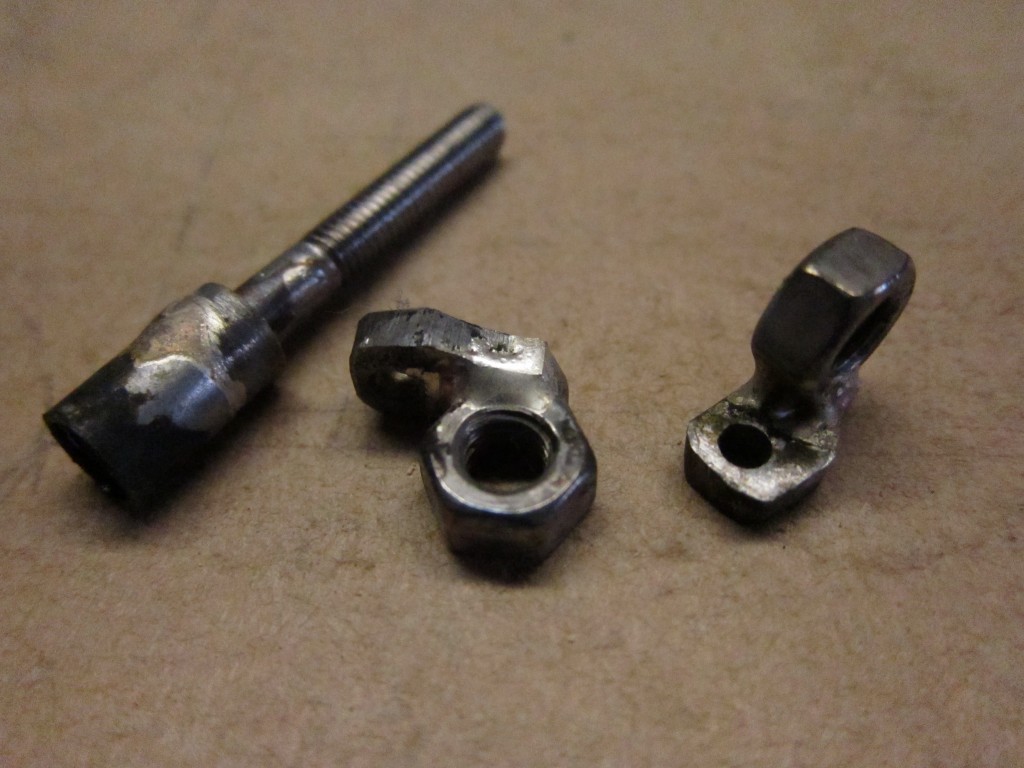
The lock mechanism rotates with a key to lock and unlock, and pushes forward to release the door. Several pieces are fabricated from nuts, tubing, and flat bar to actuate the release catches.
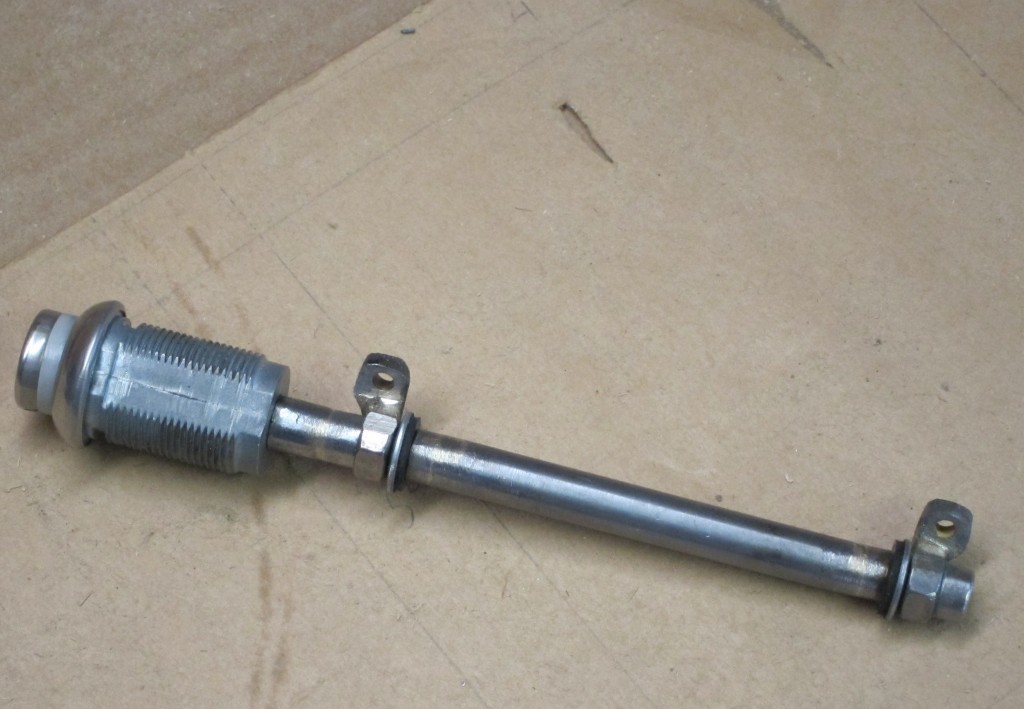
The fabricated parts are brazed and threaded into tubing segments and pressed onto the actuating push rod of the lock.
Alas, photos from the rest of the process were lost….Here’s the end result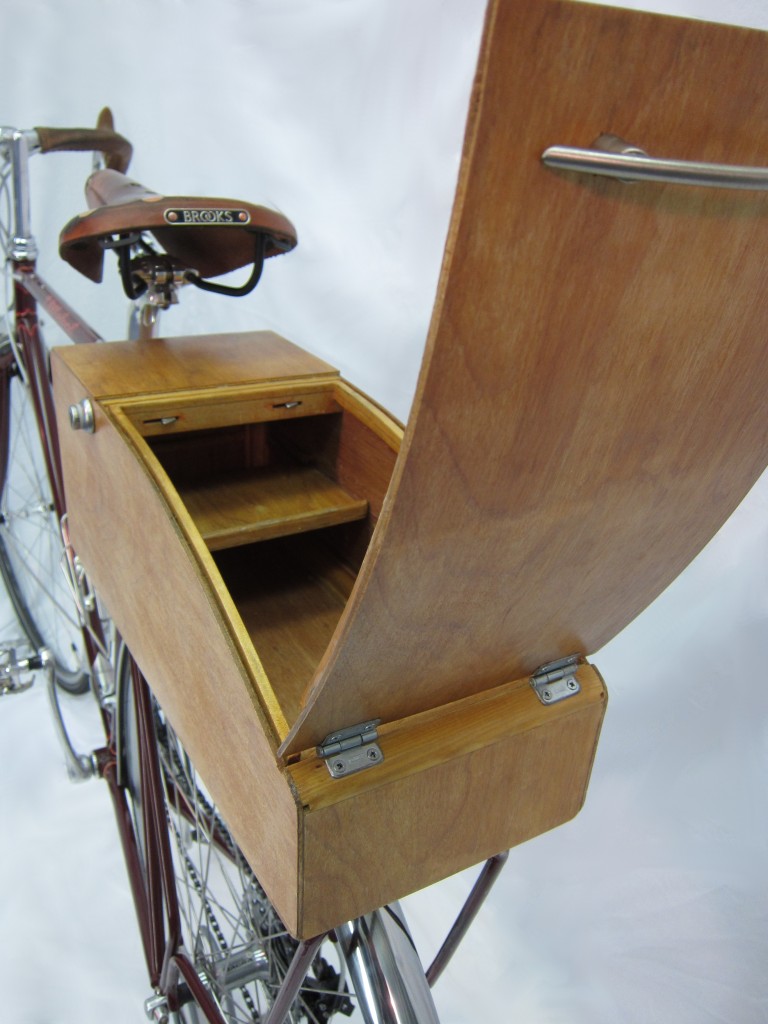 :
:

